


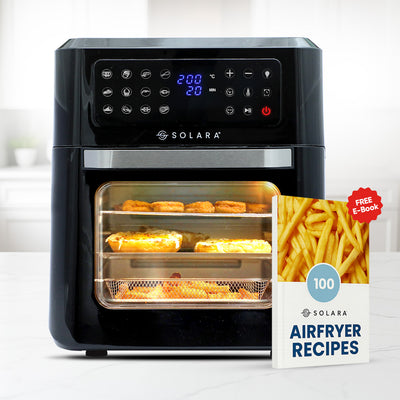


An air fryer is a game changer for healthy, oil-free cooking, but like any kitchen appliance, it needs regular cleaning to perform efficiently and stay safe for daily use. Whether you’re a new user or a seasoned home chef, this guide will walk you through the cleaning essentials, provide a detailed step-by-step cleaning routine, and offer expert tips to maintain your air fryer for years to come.
Why Regular Air Fryer Cleaning Is Essential
Regular cleaning is more than just aesthetics it’s about functionality and hygiene. Here's why it's important:
- Prevents Odors and Smoke: Residual grease and food particles can burn, creating smoke and unpleasant smells.
- Improves Cooking Efficiency: A clean air fryer circulates air more efficiently, ensuring evenly cooked meals.
- Extends Appliance Life: Removing buildup reduces strain on heating elements and fans.
- Reduces Health Risks: Eliminates bacteria and prevents cross-contamination from stuck on food debris.
What You'll Need to Clean Your Air Fryer
- Before you begin, gather these cleaning essentials:
- Soft sponge or microfiber cloth
- Mild dish soap (avoid abrasive cleaners)
- Non-abrasive brush or old toothbrush
- Warm water
- Baking soda (for stubborn stains)
- Toothpick or wooden skewer (to clean tight areas)
- Paper towels or a soft dry cloth
Step-by-Step Guide: How to Clean an Air Fryer
Step 1: Unplug and Cool Down
Before cleaning, unplug the air fryer and allow it to cool completely to avoid burns and electrical hazards.
Step 2: Remove and Soak Removable Parts
Detach the basket, tray, and pan. Soak them in warm soapy water for 10–15 minutes to loosen grease and residue.
Step 3: Clean the Basket and Tray
Use a soft sponge or brush to clean the basket and tray. For hard-to-remove spots, use a baking soda paste (mix baking soda with a few drops of water) and gently scrub.
Step 4: Wipe Down the Interior
Use a damp microfiber cloth or sponge to wipe the inside of the air fryer. Do not use metal tools or immerse the base in water.
Step 5: Clean the Heating Element (If Needed)
Flip the air fryer upside down (if allowed by the manufacturer) and gently brush off food debris stuck on the heating coil with a soft brush or cloth.
Step 6: Exterior Cleaning
Wipe the exterior with a damp cloth, especially around buttons and vents. Dry it immediately to prevent streaks.
Step 7: Dry and Reassemble
Use a dry cloth or paper towel to thoroughly dry all parts. Let air dry completely before reassembling and plugging in.
Extra Air Fryer Cleaning Tips
- Clean After Every Use: Even a quick wipe down keeps grease from building up.
- Avoid Steel Wool or Harsh Scrubbers: These can damage the non-stick coating.
- Check the Manual: Some parts may be dishwasher-safe confirm with your brand’s care instructions.
- Use Parchment Liners: They help reduce food sticking and make cleanup faster.
- Monthly Deep Clean: Use baking soda or vinegar to eliminate lingering odors and built-up grime.
Conclusion: Keep It Clean, Cook Like a Pro
Cleaning your air fryer doesn't have to be a chore. With the right tools and a simple routine, you can keep your appliance performing like new and enjoy safe, flavorful meals every time. Make it a habit, and your air fryer will thank you with years of dependable service and delicious results.
Recommended Articles :
Is an Air Fryer the Secret Ingredient to a Healthier, Guilt-Free Lifestyle
Is It Possible to Enjoy Crispy, Golden Goodness Without a Drop of Oil? Discover How Air Fryers Do It
How to Enjoy Crispy Delights Without a Drop of Oil Using an Air Fryer